
So I did a tutorial on how I take my snowflake pictures over on our ‘sister blog’, but figured I should post it on my photography blog too 😉 so I’m here to attempt one! It started snowing this afternoon, it was fluffy, then turned into sleet :/ but I did get a few pictures.
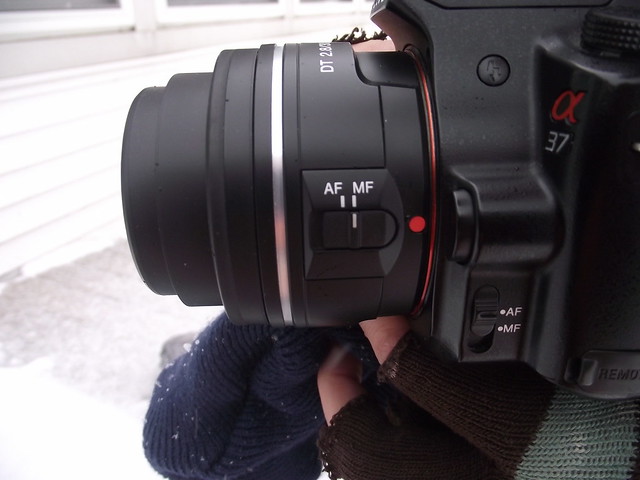
First off, I shoot in Manual mode, with my macro lens set to manual mode so I can control the focus. Most times, you will want to use a tripod, I’m not one for extra equipment and bulk, so I rarely use my tripod. I like to find things in nature to stabilize my camera. Of course, if it’s in a really low light situation, I get the tripod out!
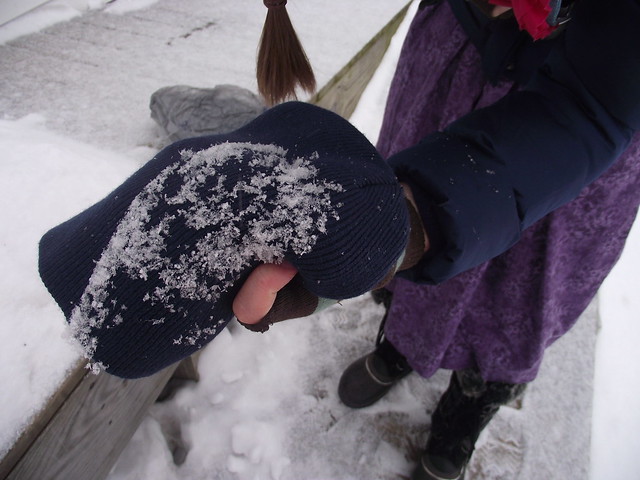
Then, using a dark sock hat, I either catch the snowflakes, or dip it in the snow:)
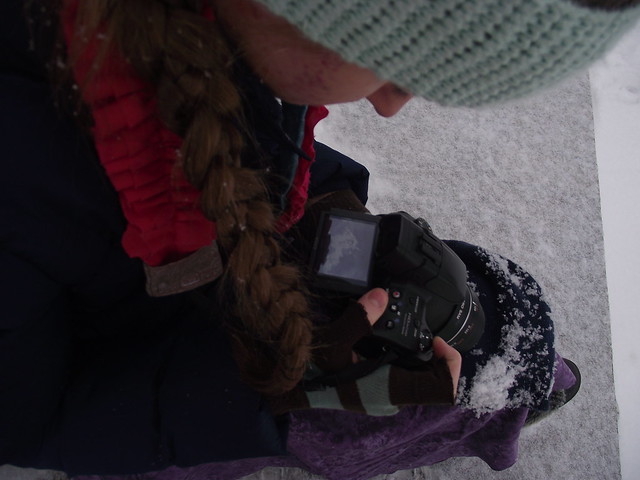
After studying which flake I should shoot, get my settings how I like them, then shoot 🙂
Let me give you a run through on settings 🙂
White balance:
This controls the temperature of the picture, weather you want to catch the warmth of that ‘yellowish’ sunny day, or the cold ‘blue’ of a winter day.
Iso:
The speed or light-sensitivity of a digital camera’s sensor is rated in ISOnumbers — the lower the number, the slower the response to light. Higher ISO numbers indicate a higher sensitivity to light, so less time is needed to expose a picture.
But if you get too high of a ISO, you introduce ‘camera noise’ into the picture. (noise, meaning grainy)
Shutter speed:
Controls the amount of time the shutter is open taking the light in.
Aperture, or F stop:
Controls how much light the camera lets into the sensor
Haha, okay, you probably didn’t think you were going to get a photography lesson 😉 But if your beginning on your DLSR, I would recommend using P (Program) mode, it sets the shutter speed for you, allowing you to adjust a few settings on your own.
So with that said, I’ll show you a couple pictures and their settings.
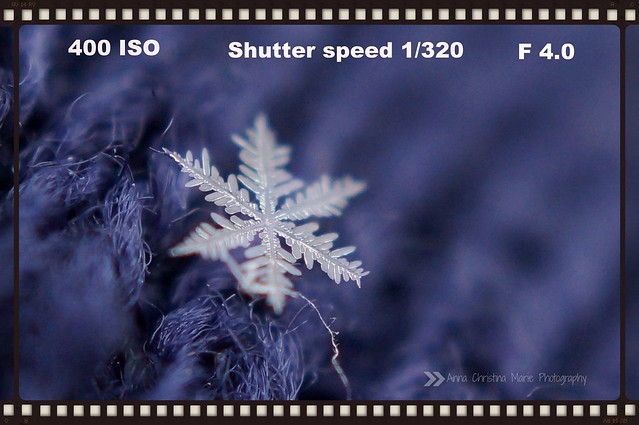
White Balance- today was a cloudy day so I chose: Shutter speed-1/200, F stop-5.0, ISO- 1600
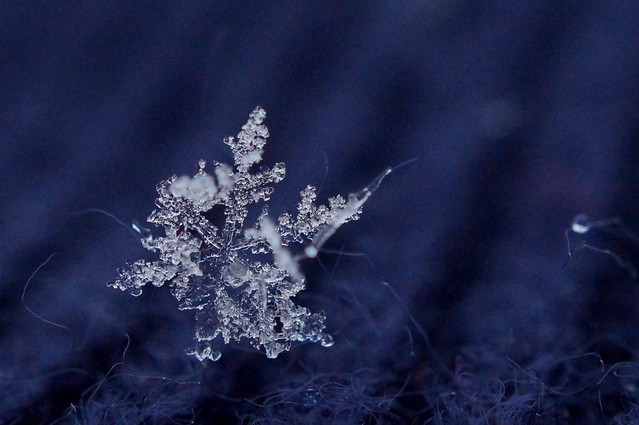
This one is the same except for the F stop, it was 6.3, but in this picture, you can see I had a rather high ISO, which is why the background is rather grainy and not smooth like the next picture.
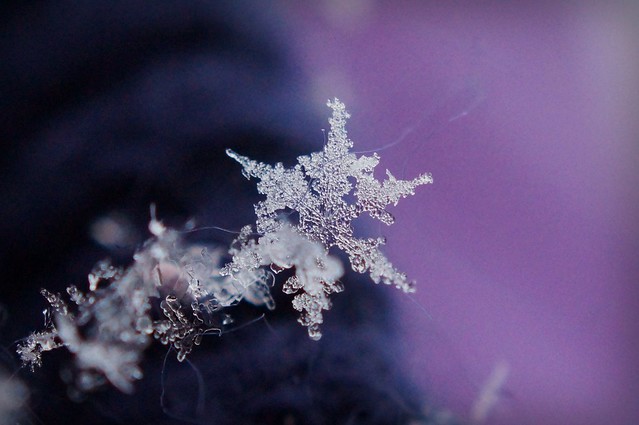
This one has a smooth background because the ISO is lower.
And, if that didn’t make any sense whatsoever, feel free to comment and ask any question you want, and I’ll see what I can do to answer you 🙂 !!!
But most of all, don’t stress. Have fun! And really, no photographer, (professional or amateur, ) always gets it perfectly right!
